Friday, July 26, 2013

SOC Christmas in July Blog Hop

 
Welcome to SOC's Christmas in July Blog Hop! I, along with some very talented crafters, are coming together to deck the halls by sharing Christmas themed projects! Of course Christmas is the season for giving, and this hop is no exception! There will be giveaways on various blogs throughout the hop! Plus, there will be an SOC blog hop gift awaiting one visitor!! To be eligible for that prize, you must comment on all the blogs by Sunday, July 28th at 11:00pm EST. From all who are eligible, one lucky reader will be randomly drawn. The winner will be posted on all the participating blogs on Wed, July 31st.

Dorothy here


Double layout
 

1st layout
 
 2nd layout

 Close up of the title enhanced with Glossy Accents


Close up of the sentiment enhanced with Glossy Accents 


Close up of mats for 3 X 5 photos and the tree for journaling
 
 
 Close up of the embossed flocked tree and the stickled  star


Close up of the snow

 The papers used are DCWV Christmas Combo 2010 for the snowflake mat,  photo mats for 3 X 5 pictures, tree journaling space, and the large  trees. Other papers used are Sizzix Textures Handmade Paper for the tree trunks and Wausau for the snow. The red cardstock is AC Cardstock.
 
Using the Gypsy and Cricut Expression the following Cricut cartridges were used Paper Doll Dress Up(large trees), Joys of the Season(star and sentiment), George(photo mats), Create A Critter(journaling tree), Lacy Labels(mat behind Joy) and Teresa Collins December 25th(title).
 
The large trees were embossed with the Vagabond using the Sizzix Evergreen embossing folder.
 
Other items and tools used were the Perfect Tears(snow), WRMK(little white snowflakes), Stickles(star and flower), Colorbox Chalk Warm Red(mats), EK Success Chalk(snow), Stampendous Cotton Ball White Flock(large trees),  and Spellbinders Large Labels(behind title). And the adhesives used were Glossy Accents, ATG, GlueDots and Zig 2 Way.


Wednesday, July 17, 2013

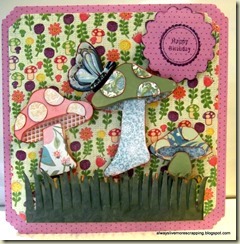
Butterfly on Toadstool Birthday Card

DSCF3052
Tomorrow my oldest granddaughter will be eighteen years old. It is hard to imagine it has been that long since our beautiful blue eyed baby girl was born. But, I did just attend her high school graduation last month and she will be off to college very soon.

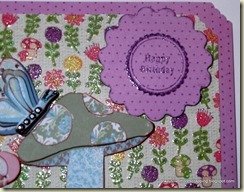
Purple is her favorite color, so I incorporated it into the making of this 6 X 6 birthday card. DCWV Flower Shower Spring Stack 2010 was used for the 6 X 6 base and the 5.5 X 5.5 mat. The corners were decorated using the WRMK Corner Chromper Cloud punch.

It has been awhile since I have used the Cricut Imagine. I used it along with the Lori’s Garden cartridge. That is my favorite Imagine cartridge. The butterfly layers (page 11) are print/cut at 1.3 inches and the toadstools layers (page 12) are print/cut at 3.0 inches.
DSCF3057
DSCF3055
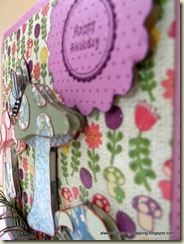
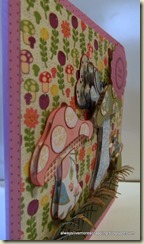
Side views
 
All the layers were inked with Colorbox Q Brown ink before they were assembled with Recollections Foam Squares for the layering and Zig 2 Way for assembling other parts. The grass is pieces I had leftover from a Tim Holtz tag and it is made using the Tim Holtz Alterations Tapered Fringe die and inked with TH Distress Peeled Paint ink. All assembled pieces are adhered to the card using the ATG.

DSCF3061
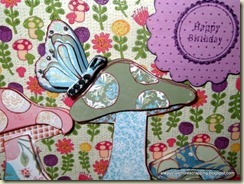
The butterfly is embellished with Black Diamonds (antennae) and Platinum (back wing) Stickles. Recollections Rhinestones were used on the body.


DSCF3081
The birthday sentiment is a Sylvia Yu stamp using TH Distress Dusty Concord ink. I then heat embossed it using clear embossing powder and the Ranger Heat It tool. I cut it using a Fiskars scallop punch. The edges are inked with TH Distress Dusty Concord ink. It is adhered to the card using the Recollections Foam Squares.


DSCF3069
inside

Saturday, July 6, 2013

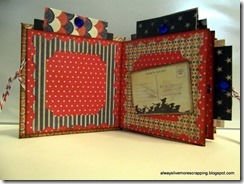
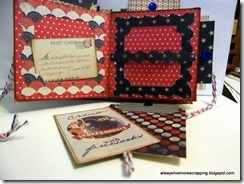
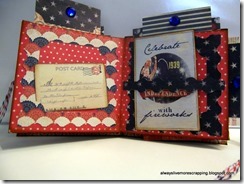
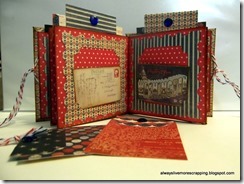
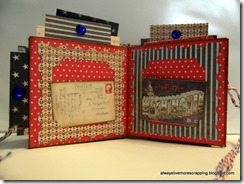
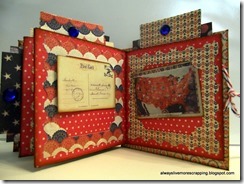
Patriotic Mini Book

There are several challenges this week/month to make something in red, white and blue in celebration of America’s Independence. On the Fantabulous Blog there is a Red White and Blue Cricut Crawl. Over on Mema's Crafts there is an all month challenge. And at SOC Sista//Brotha Blogger Week 28 challenge is display red white and blue.


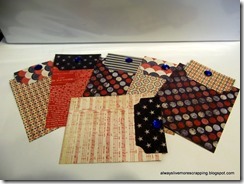
I chose to make this 3 X 3 mini book using papers from the Authentique PRIDE collection 6 X 6 pad. The pages for the book are made from one 12 X 12 piece of DCWV(Stack 7) paper (Tutorial  by Tracy’s Treasures24 part 1 & part 2)


DSCF3039

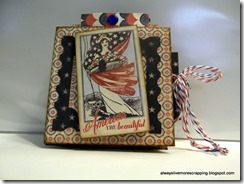
Front Cover

The postage stamp frames are from Cricut cartridge Elegant Edges ( page 37) cut at 2.75 inches by 2.75 inches. I used the Gypsy to get the exact size and the Cricut Expression.

The placards and postcards were scissor cut from the Authentique PRIDE paper. The placards on the front and back covers are elevated using Recollections Foam Squares.

Red/White and Blue/White Twine by American Crafts were used for the closure.

Edges are inked using Tim Holtz Vintage Photo Distress Ink.

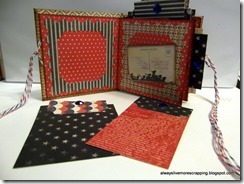
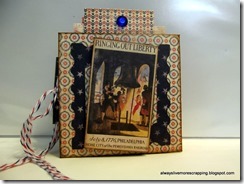
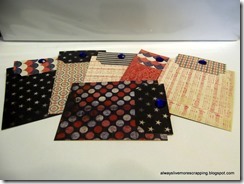
Blue Gems by Want2Scrap are adhered to both sides of the tags. The toppers for the tags were the leftover pieces cut from the inside of the postage stamp frames folded in half. (nothing goes to waste) LOL

I used many adhesives. Terrifically Tacky Red tape to adhere the pages together to form the pockets and to paper outside of the covers. Glue Glider Pro to adhere the covers to the book. Zig 2 Way to adhere the postage stamp frames to the pages and Scotch 2-Way to adhere toppers on the tags.


DSCF3041DSCF3040


 pages 1 & 2 with and without tags                                        

DSCF3043DSCF3042

pages 3 & 4 with and without tags                                        

DSCF3046DSCF3044

pages 5 & 6 with and without tags                                        

DSCF3048DSCF3047

pages 7 & 8 with and without tags                                        

DSCF3049
 
Back Cover
 
DSCF3051
DSCF3050

Tags front & back